|
Roles |
|
Purpose |
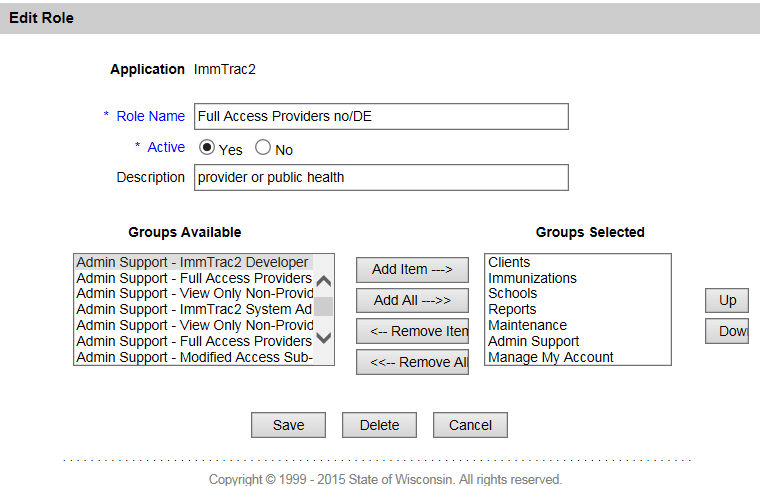
Allows an organization to create, edit and list all roles in the application.
Clicking on the Menu Role Name opens the role to be edited.
Under "Groups Available", highlight a line item and then click on Add Item to make the Groups active and have it appear under "Groups Selected." Add All will move all groups to the "Group Selected" area, just as Remove All will delete all groups from the “Groups Selected” box. Use Remove for single item changes.
Remember to "Save" or "Cancel" at the end of your session.
Add Role
Clicking on the "Add Role" hyperlink brings up this screen:
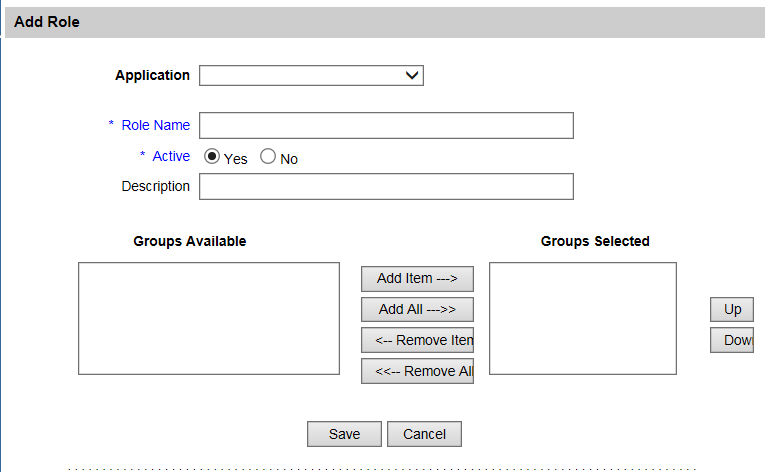
Adding a role involves choosing an application first.
After the application is chosen, give your role an appropriate name and choose if you want it active right away or not. Be as descriptive as you can for the description.
The "Groups Available" column will auto-populate. Under "Groups Available", highlight a line item and then click on Add Item to make the Groups active with in the role and have it appear under "Groups Selected." Add All will move all groups to the "Group Selected" area, just as Remove All will delete all groups from that role. Use Remove for single item changes.
Remember to "Save" or "Cancel" at the end of your session.